Creating Avatar Clothing in Meta Horizon Developer Dashboard
Related Links:
When to use:
To create avatar wearables and setting a commerce system in your world
Benefits:
It creates a fun interaction that is easy to implement and doesn’t require scripting.
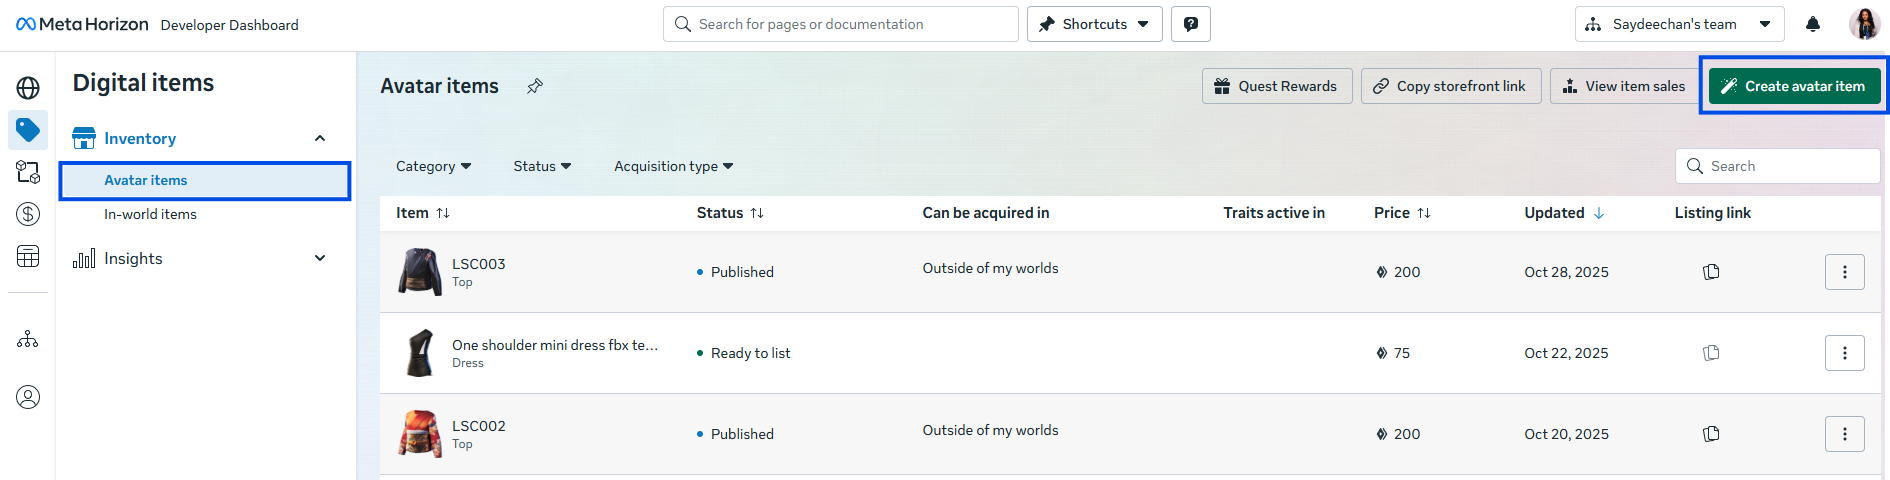
- Go to developer dashboard
- Go to Digital Items

- Go to Create Avatar Item
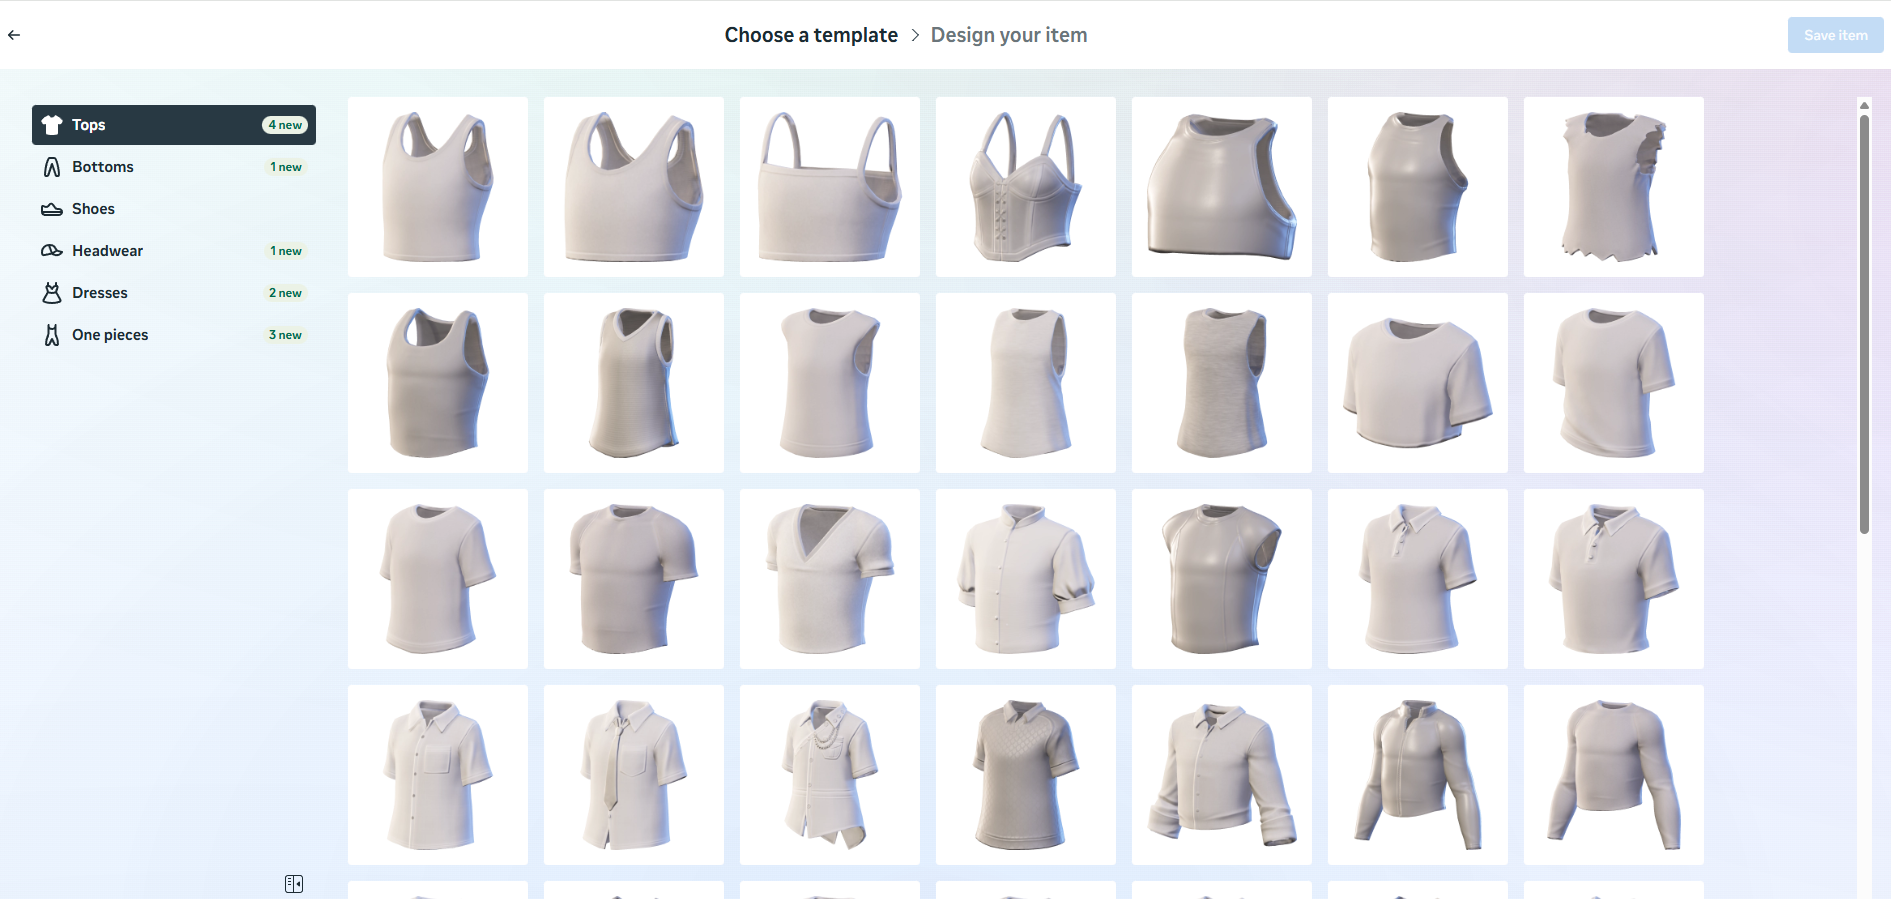
- Pick a template
- Download Design Files
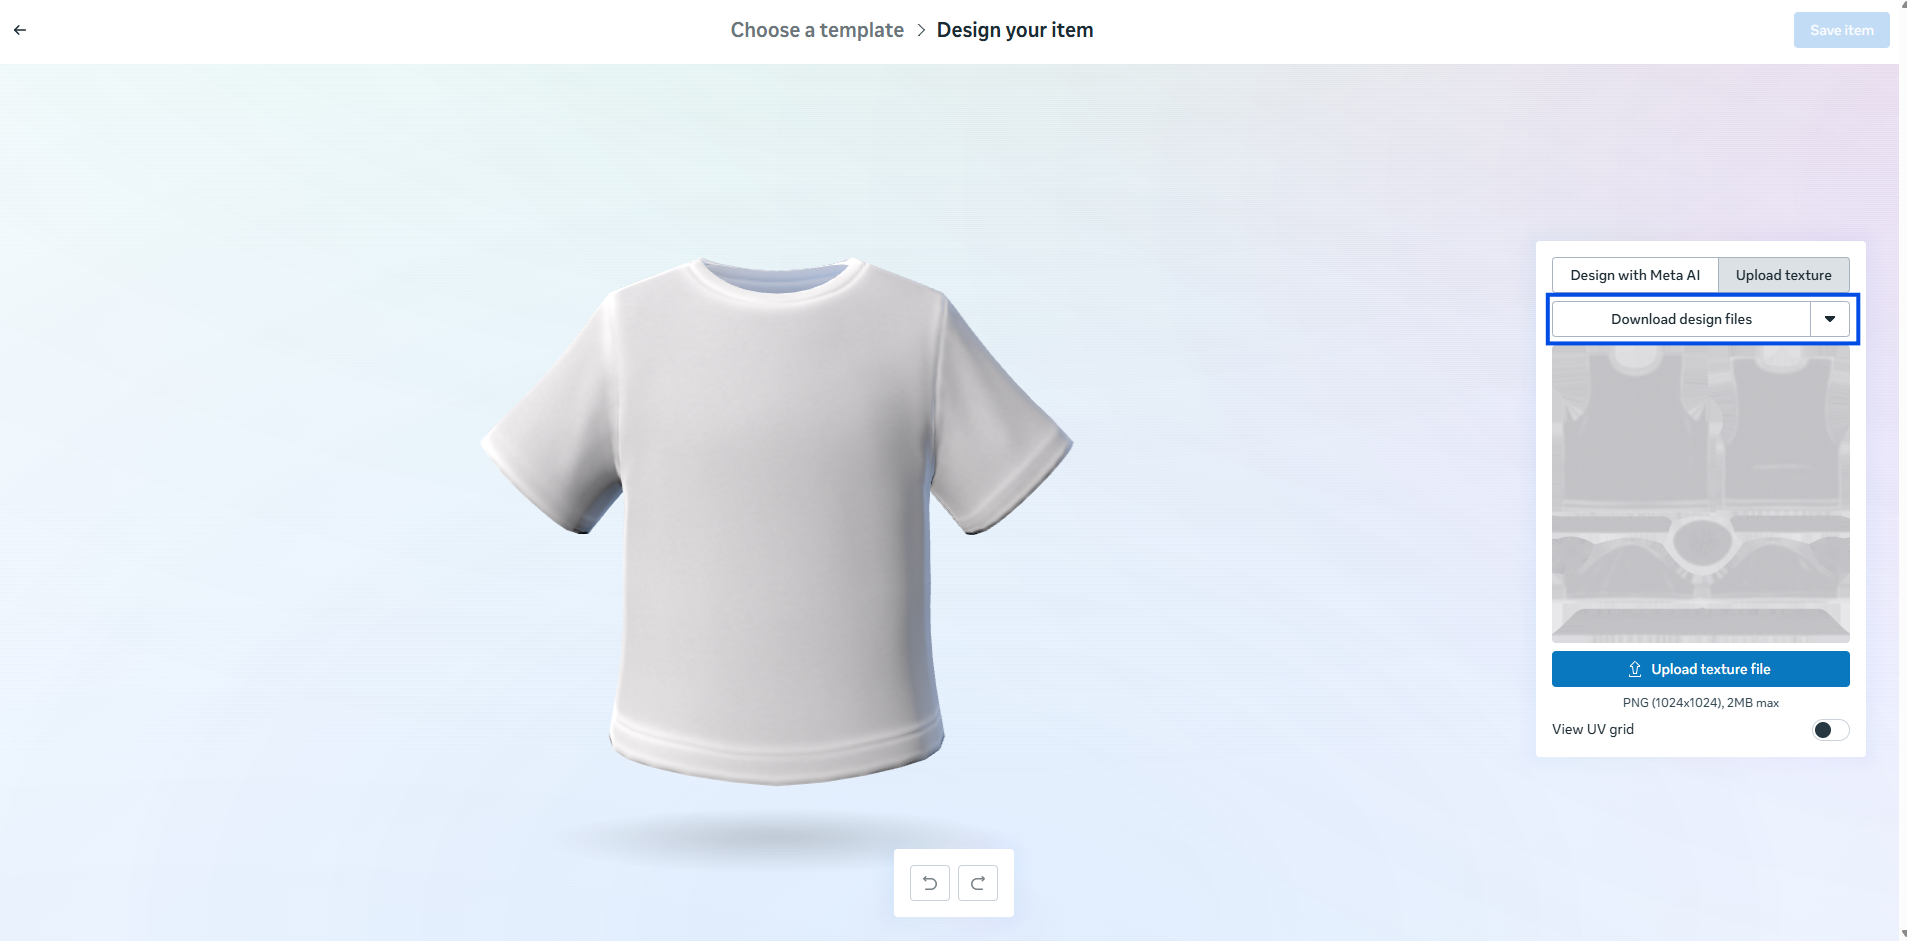
Specification: PNG 1024x1024 (2 MB Max) - Use the texture map and UVguide as a reference to start designing.
Texture Map

UV Guide

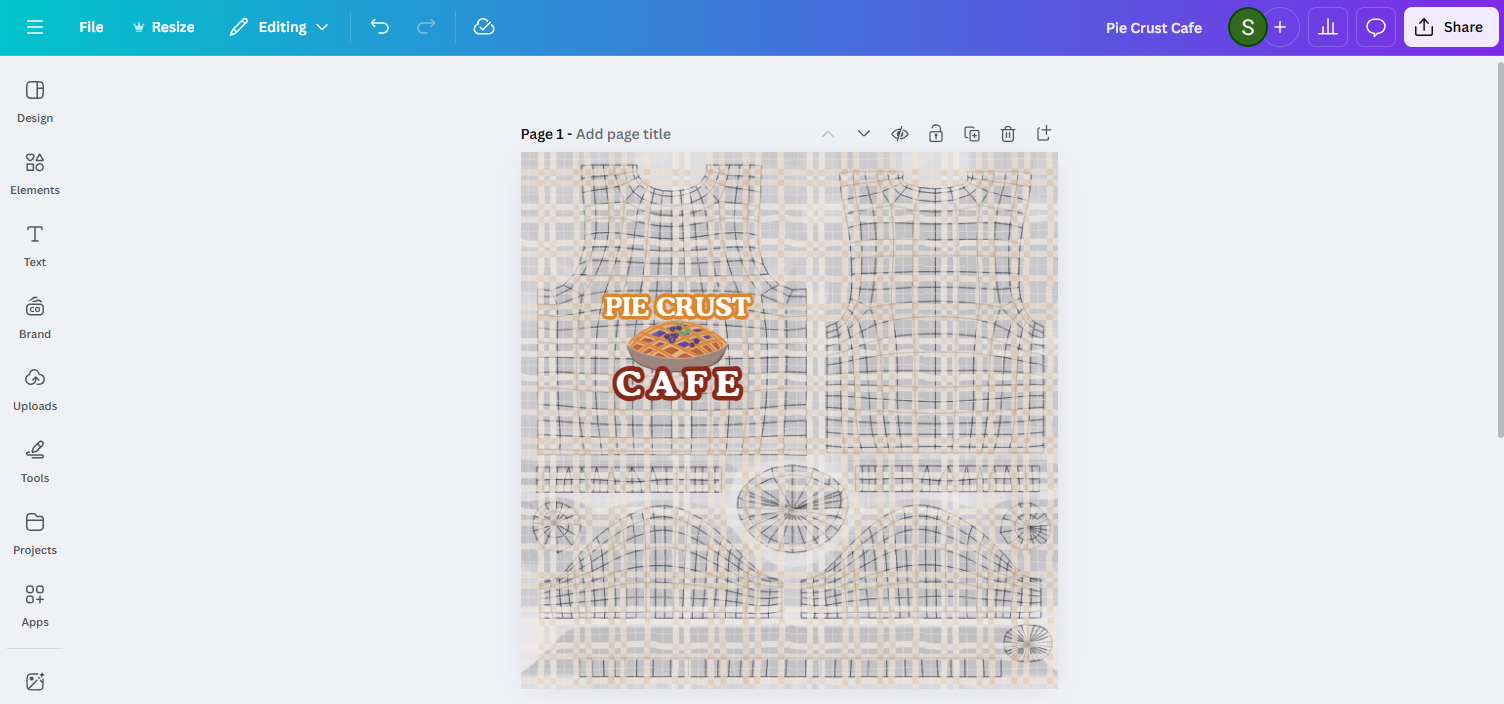
2D Designing Demo using Canva
Using UV Guide and Texture map to determine placement
Removing the UV Guide and Texture Map for final design ready to download
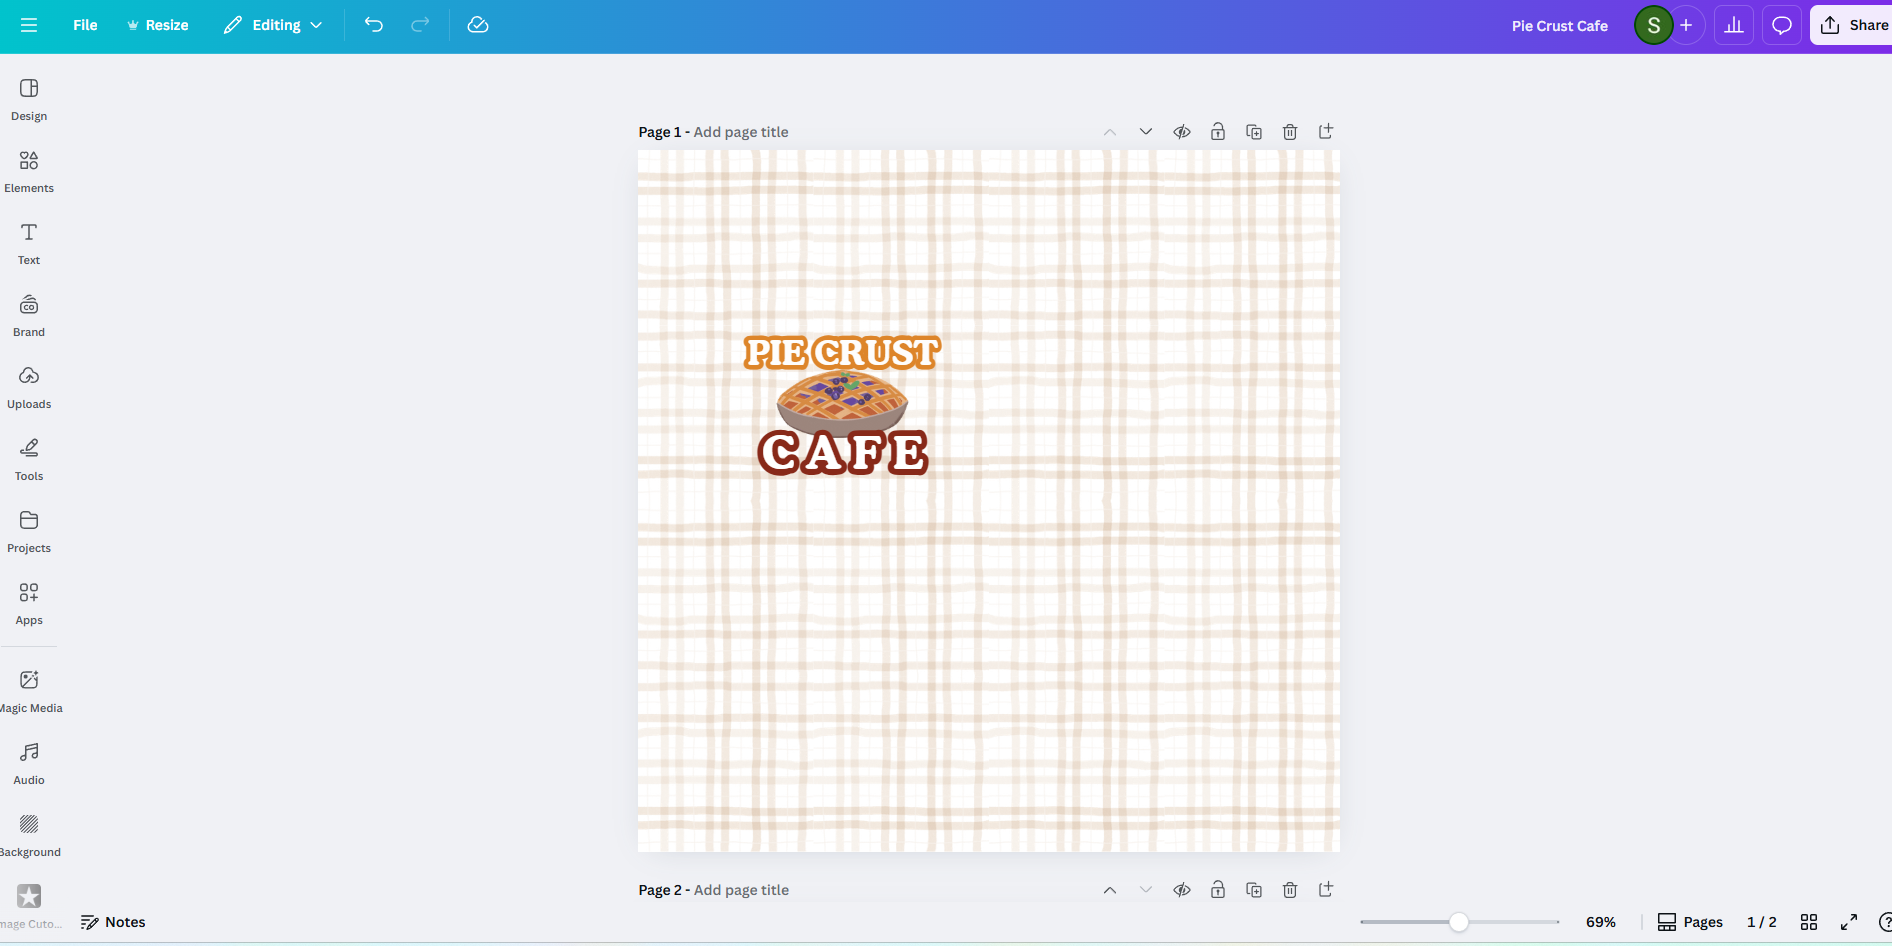 Final Texture design file
(1024 x 1024 under 2MB)
Final Texture design file
(1024 x 1024 under 2MB)
Bringing your design into Meta Horizon
- Upload texture
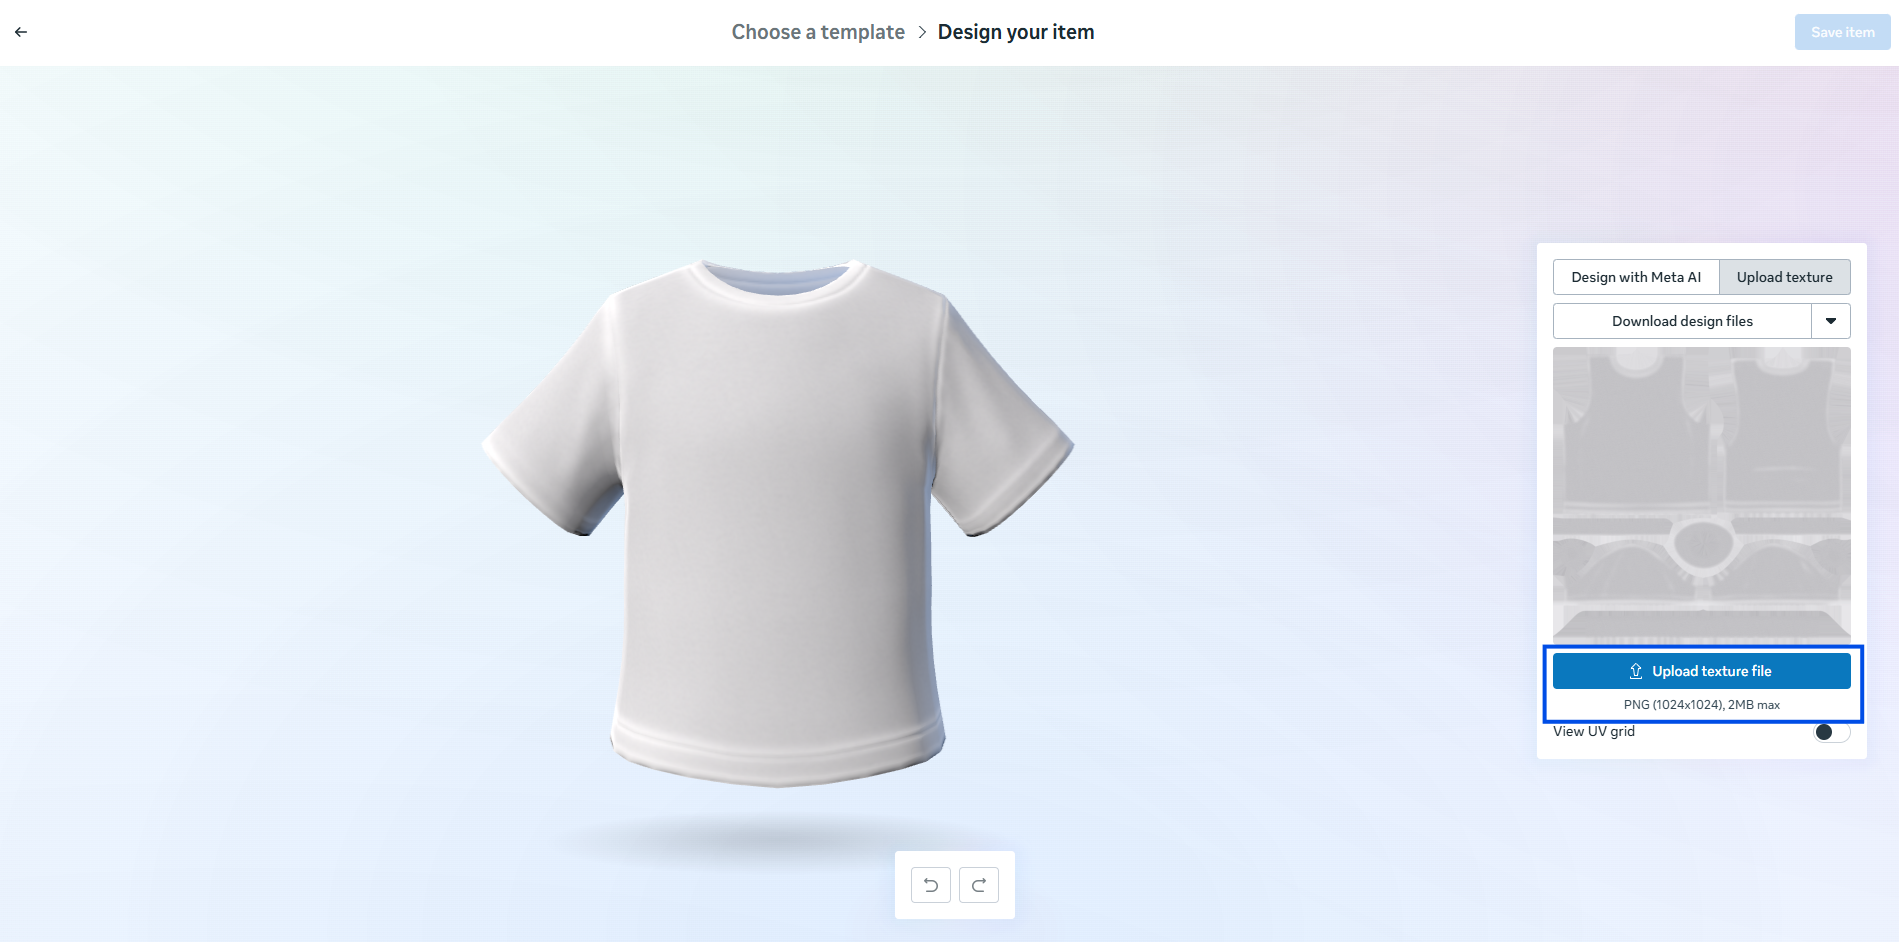
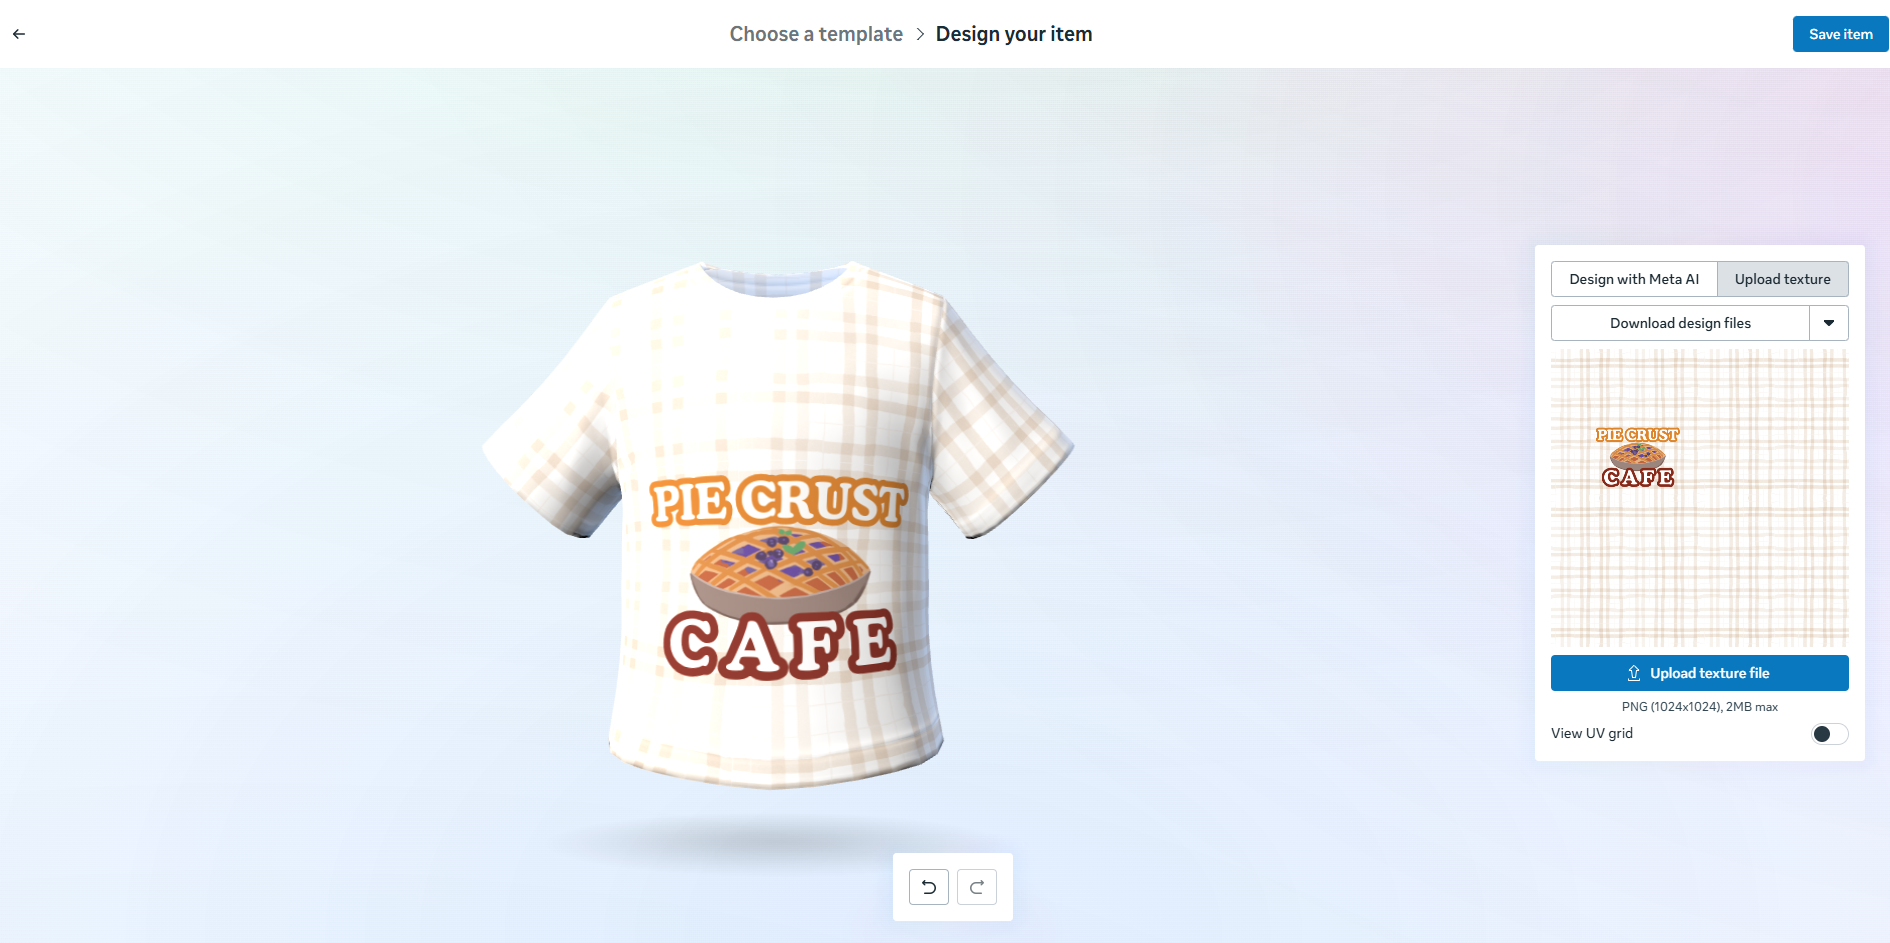
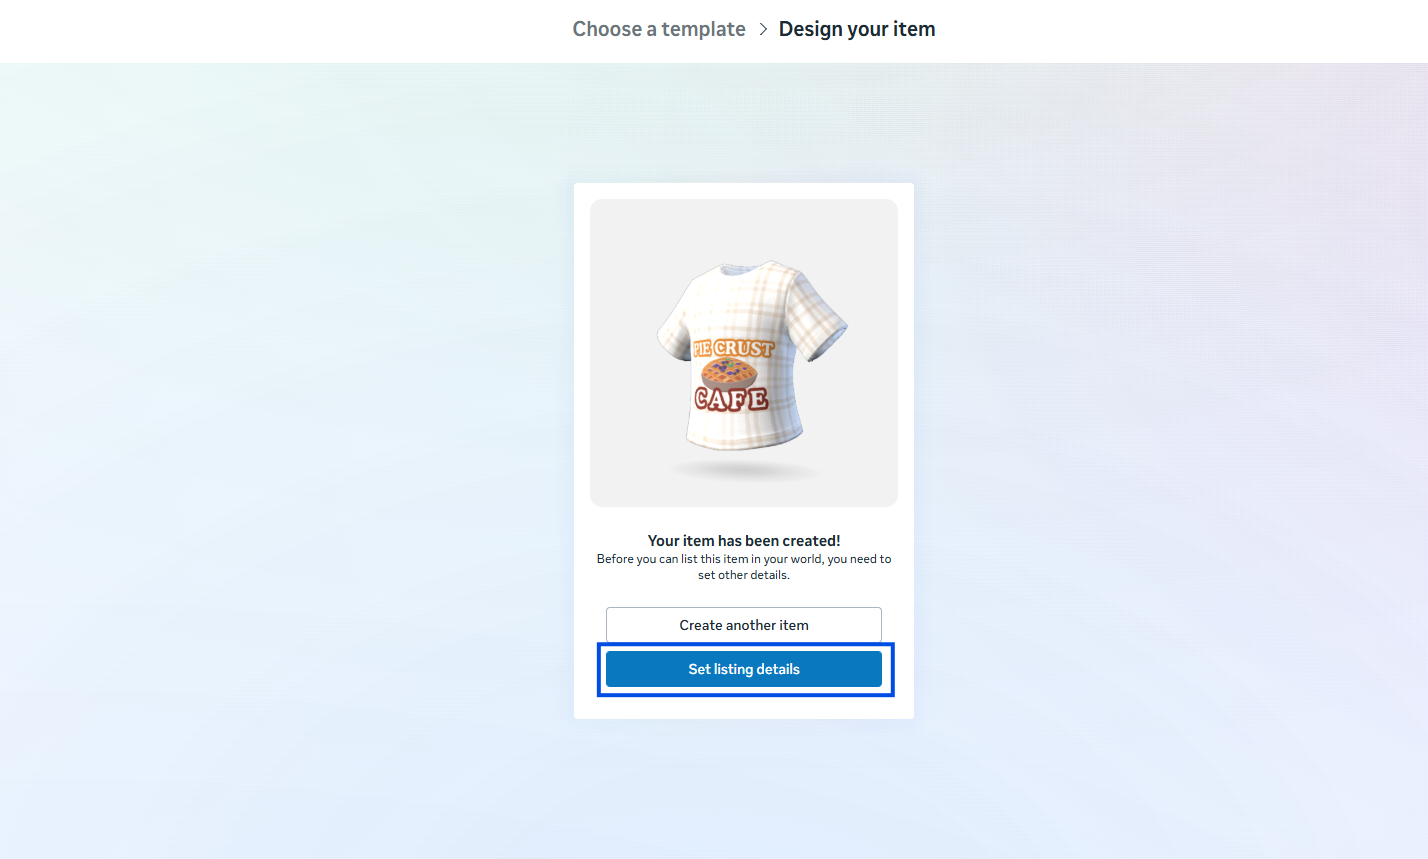
- Review and adjust your design as needed
- Save Item
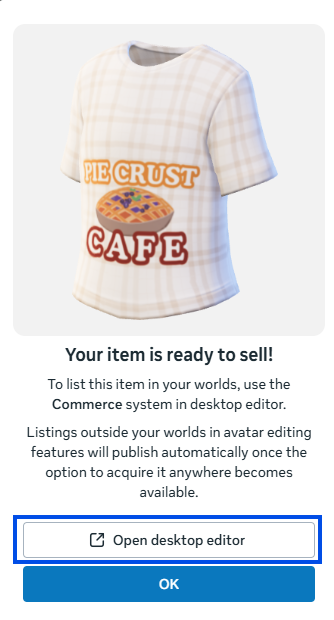
- Set Listing Details
- Open Desktop Editor
- Go to your asset library, and find “Avatar Items”
- Drag and drop the asset into the world

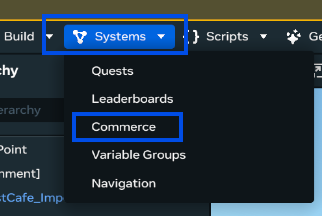
Setting up Commerce system in your world
- Go to system -> Commerce
- Click the “+” button and select “Add avatar item”
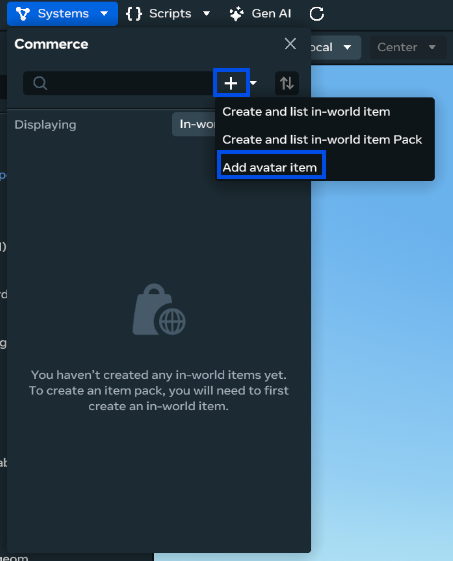
- Select your wearable asset
- Click Add
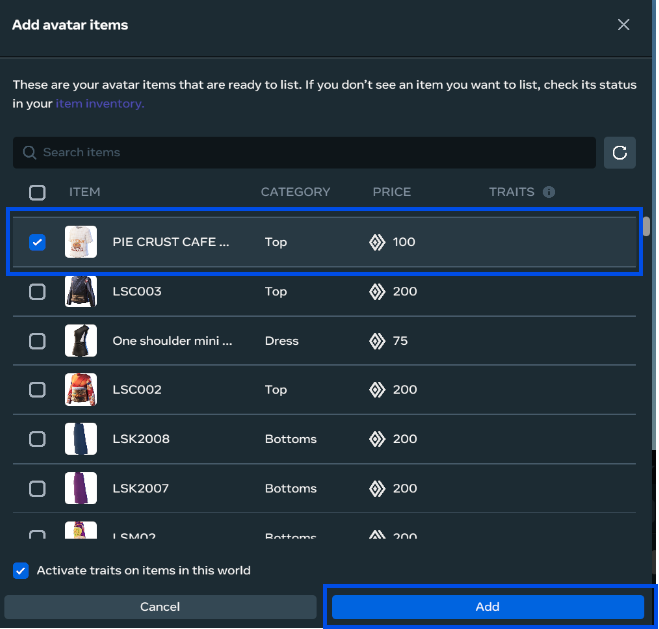
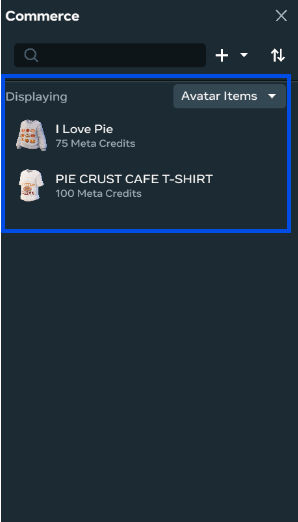
- You will see the items you added under the commerce avatar item list.
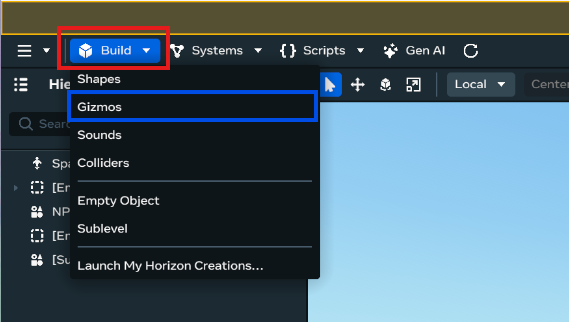
Important!: You must be the world owner to set up a commerce system for avatars clothing. - Go to “Build” on the top-left menu and select “Gizmo”
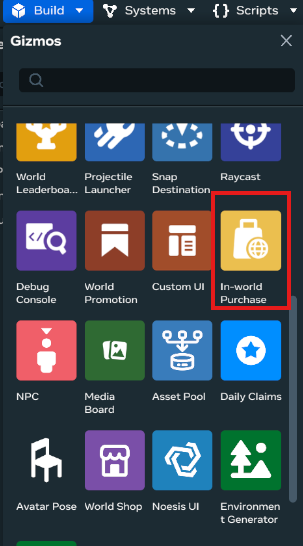
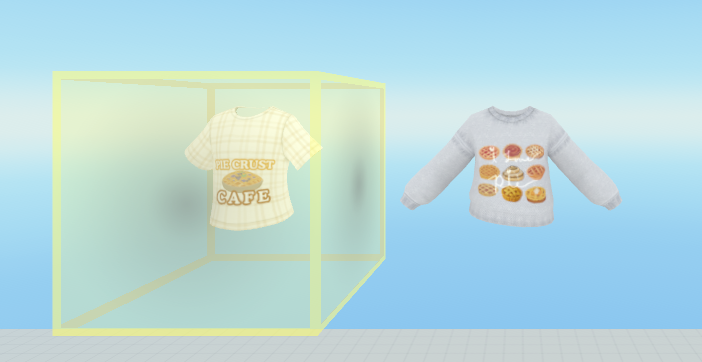
- Select “In-world purchase” Gizmo and drag it into the world
- Click the yellow box (In-world Purchase Gizmo)
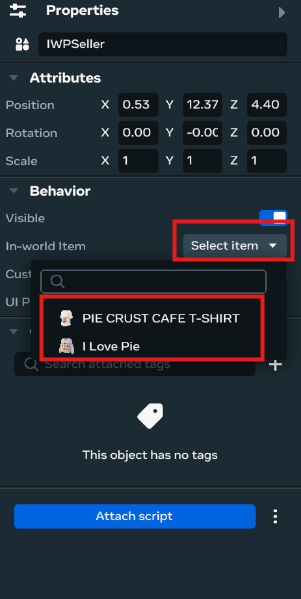
- Go to the property setting on the right on the desk top editor
- Go to select item, and choose the item you would like to set up to sell.
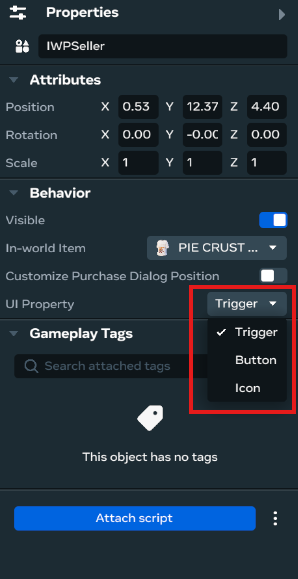
- Go to UI Property and choose how you would like your In-world purchase to display.
- Trigger - UI will pop up when player gets close to the item \
- Button - A button with a cost displaying \
- Icon - a button with no cost displaying.
You are all set and ready to sell your clothes!
How to export 3D Avatar Clothing in Meta Horizon Developer Dashboard
- Follow steps 1-4
- Upload a blank or any texture (step 1 on Bringing your design into Meta Horizon)
- Go to your asset library and “My Asset”
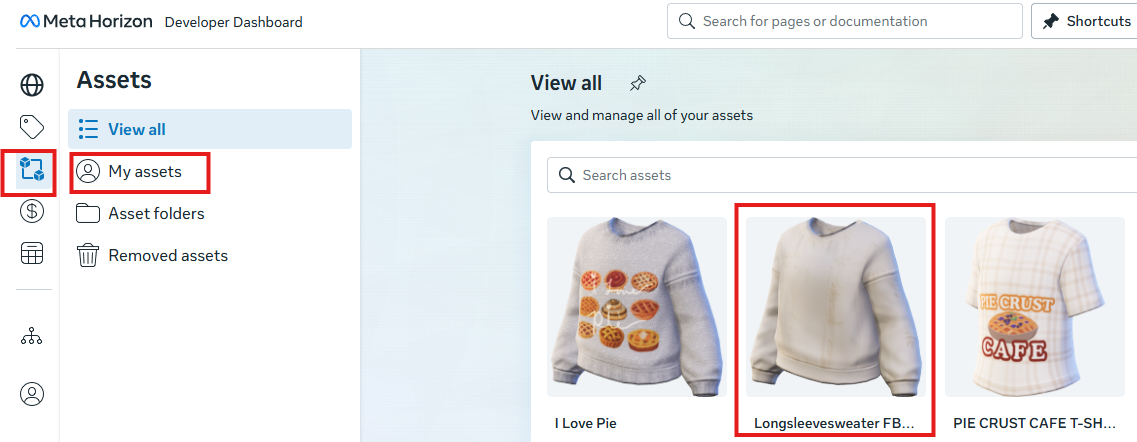
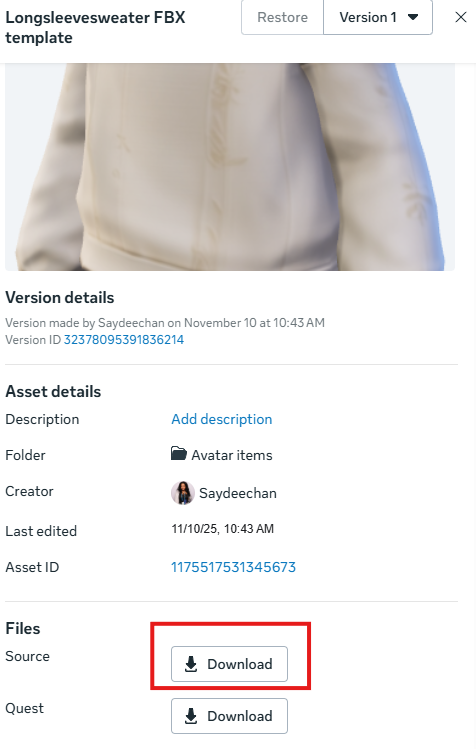
- Click on the asset and a small window will pop up.
- Scroll down and find “Files” and click on “ Download” next to “ source”
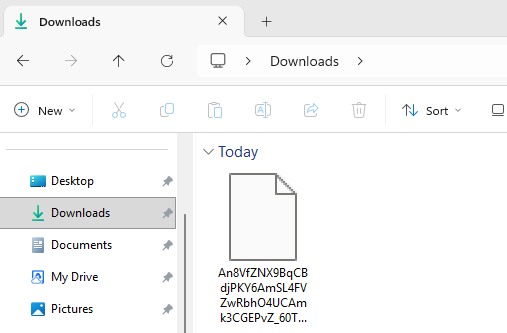
- Go to the file where the file was downloaded.
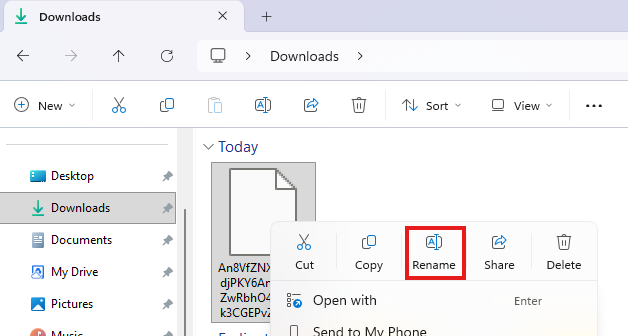
- Right click and “Rename”
- Rename your file to “anyfilename.fbx”
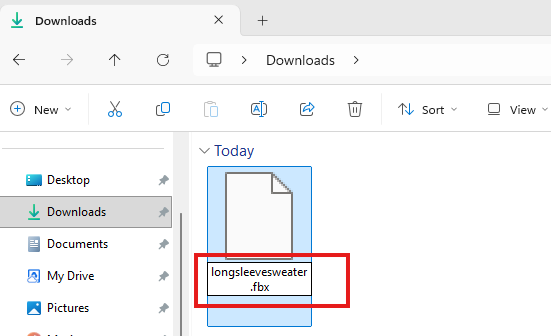
- Now you have the ability to import this file into any 3D software that is compatible with FBX file.
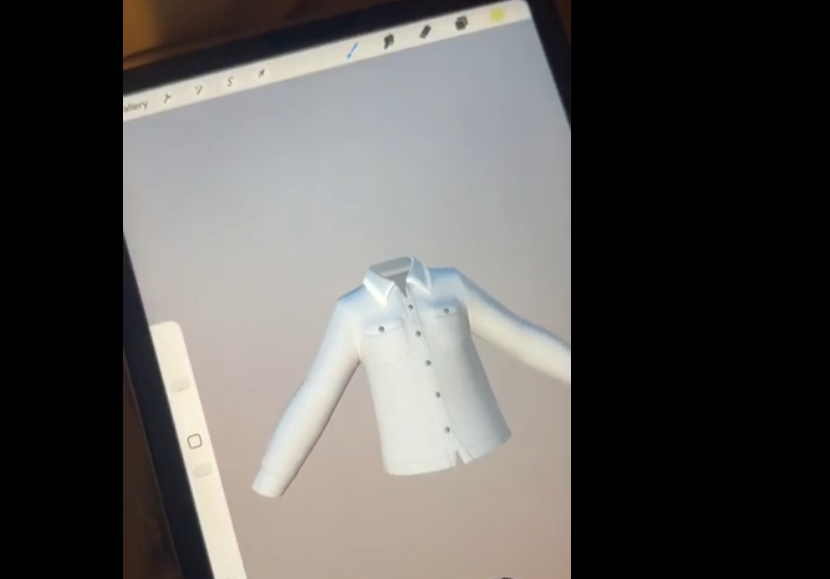
The Procreate app on iPad only accepts OBJ file. Use a FBX to OBJ converter, or use Blender and import the FBX file, then export as a OBJ file.
Free FBX to OBJ Converter Website
You can now import the OBJ file into Procreate and begin painting directly on a 3D model.